Building a Viking loom
Designing and building a warp weighted loom suitable for a home use.
Building a product and watching other people use and get value from it is a very rewarding feeling and something I appreciate deeply about my job. Building tools for others to create with has somehow felt less rewarding to me. One step too far removed from the act of the craft maybe. Who wants to be the coach when you can be the player?
However, I recently built a tool, a stone aged warp weighted loom, for a local weaving expert and I've found the feeling of creative reward really changes when you're supporting a star player like Marja, the Michael Jordan of weaving let's call her.
The User (Weaver) #
For the last 40 years Marja has been a Weaving/textile history and heritage enthusiasts, and for 6 years a weaving instructor in the Liberties Weavers project.
The Design #
The brief for this project was simple enough. Design and build warp weighted loom suitable for a home use with a working area of around 6 by 4 feet.
I started with research to familiarize myself with the weaving domain, its key concepts and what a warp weighted loom was... This research began at an event hosted by the Liberty Weavers project where I was able to see a variety of weaving techniques, their products and ask questions.
Once I understood the basics, I watched videos of weavers demonstrating, describing and teaching techniques on their own looms. I took note of any novel solutions between the looms as well as any needs or difficulties the weavers reported.
The research needed to design a tool for a technical skill, and rich domain knowledge can take as long or longer than building the tool itself. While I'm still unable to weave myself (did you know Leo Fender, founder of Fender Musical Instruments, couldn't play a note on the guitar), my partner has been learning and practicing weaving for almost two years and so was an accommodating Subject Matter Expert to user test with.
User needs #
The design for the loom would have to enable user to accomplish the task of weaving but for the loom to provide an enjoyable weaving experience it should meet the additional needs I identified during my research, which were as follows:
Need A. #
As a weaver I need a rigid and dependable frame I can tightly wrap so that I can maintain a stiff and neat weave.
Need B. #
As a weaver I need to be able to adjust the working space of the loom so that I can work on a range of different sized pieces and move between ergonomic positions while working.
Need C. #
As a weaver I need a portable and space conscious loom that is easy to put together so that I can avoid wasting time with setup and teardown of the loom.
The Result #
Some features and functions of the finished loom include:
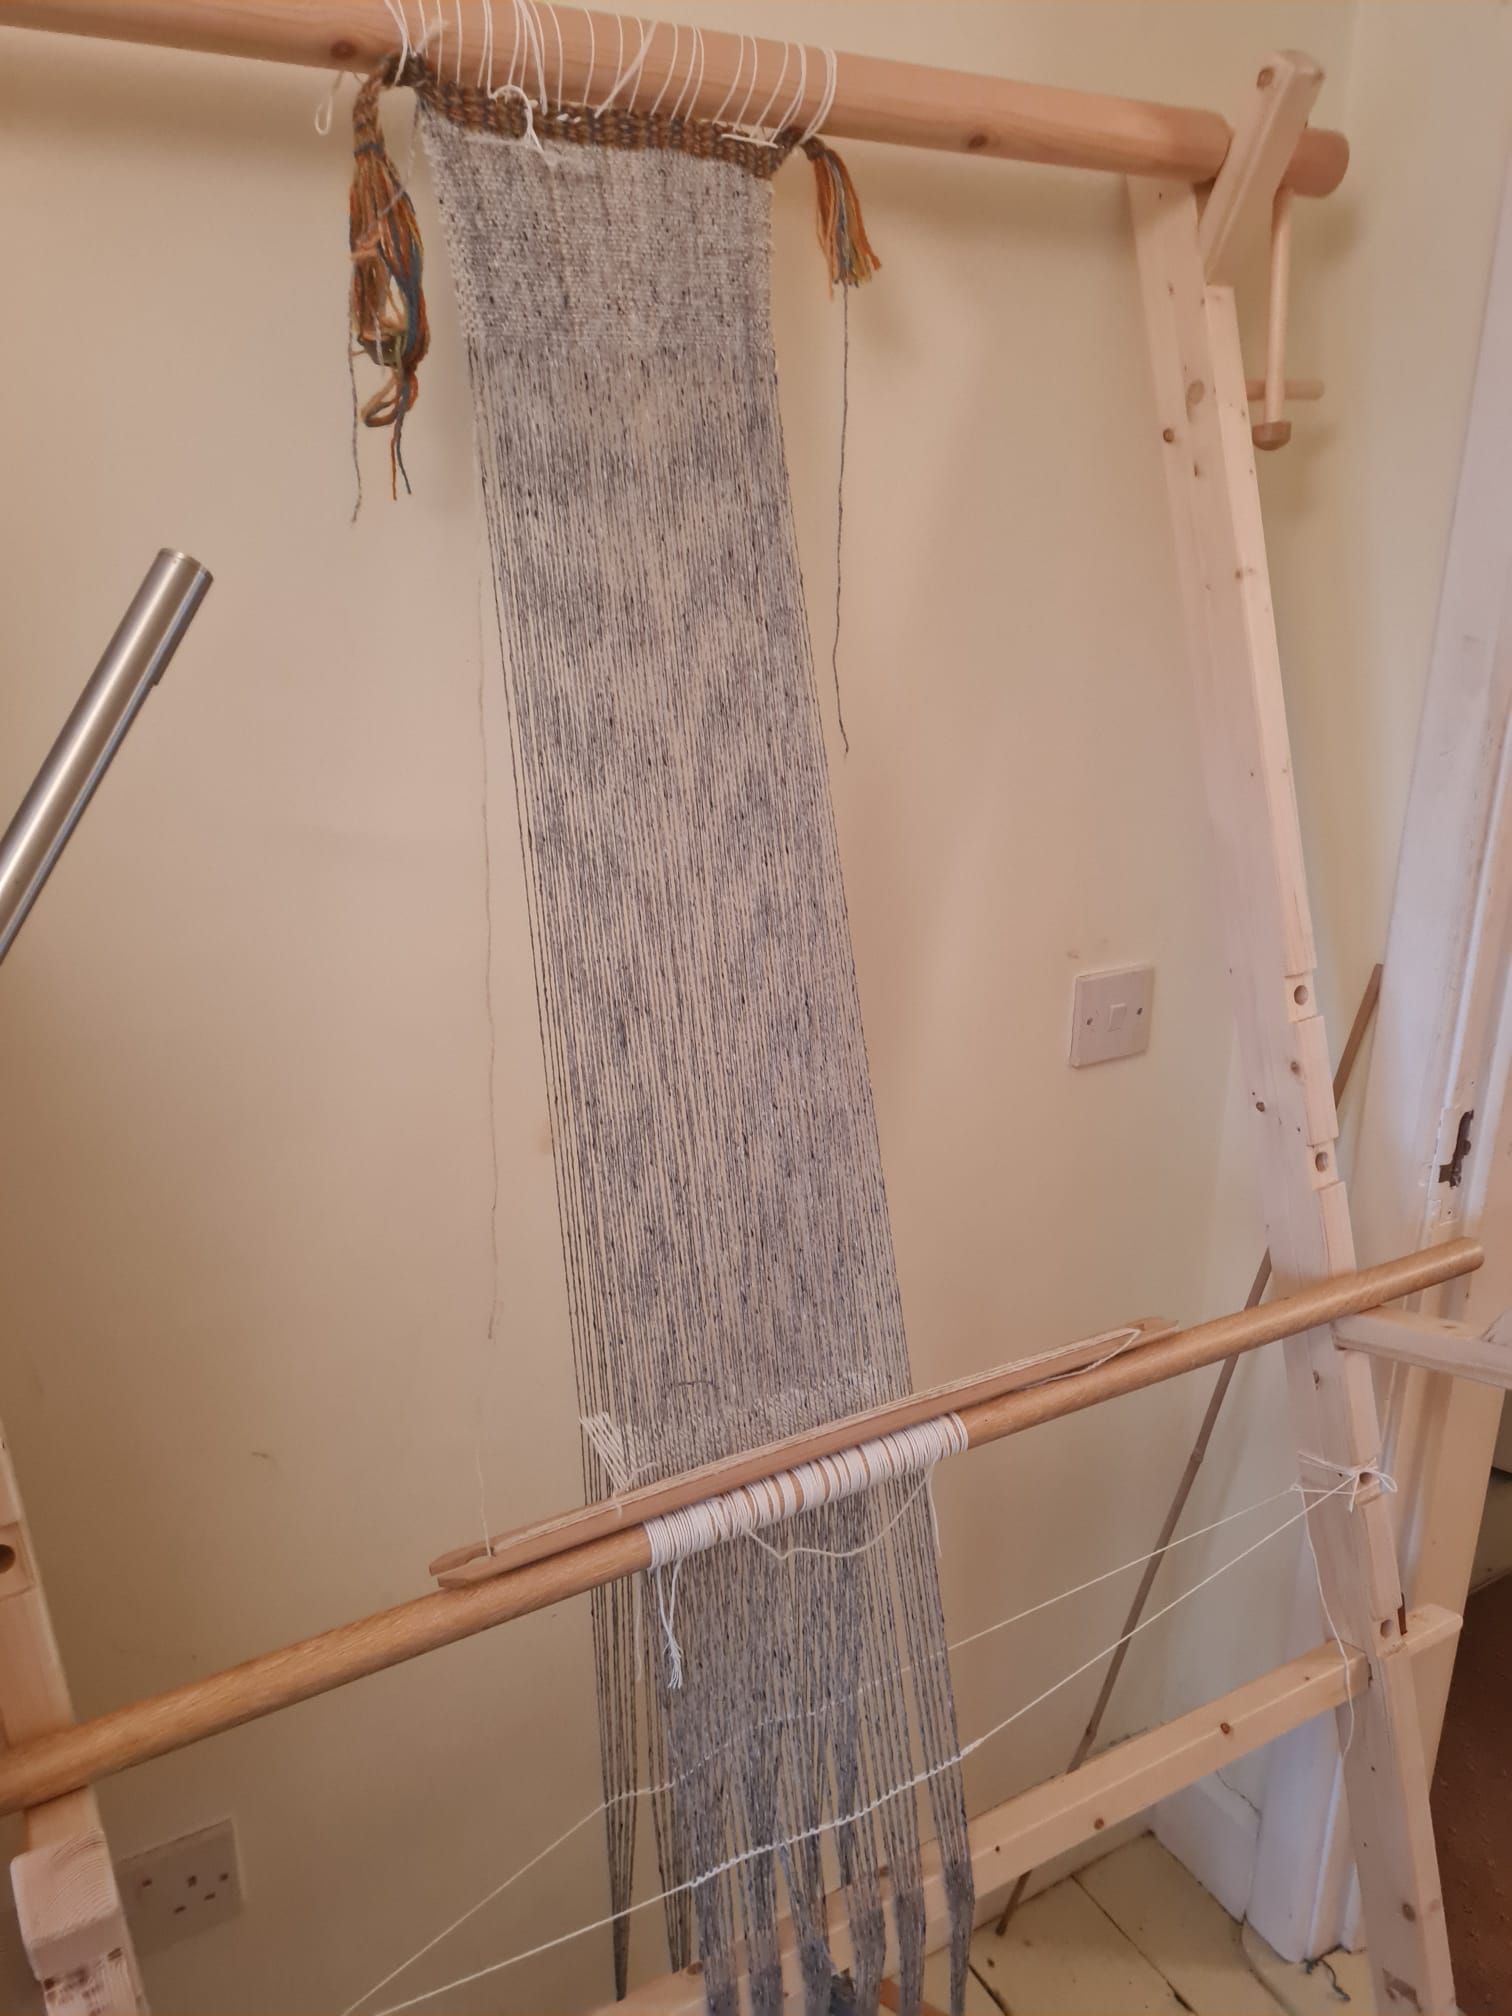
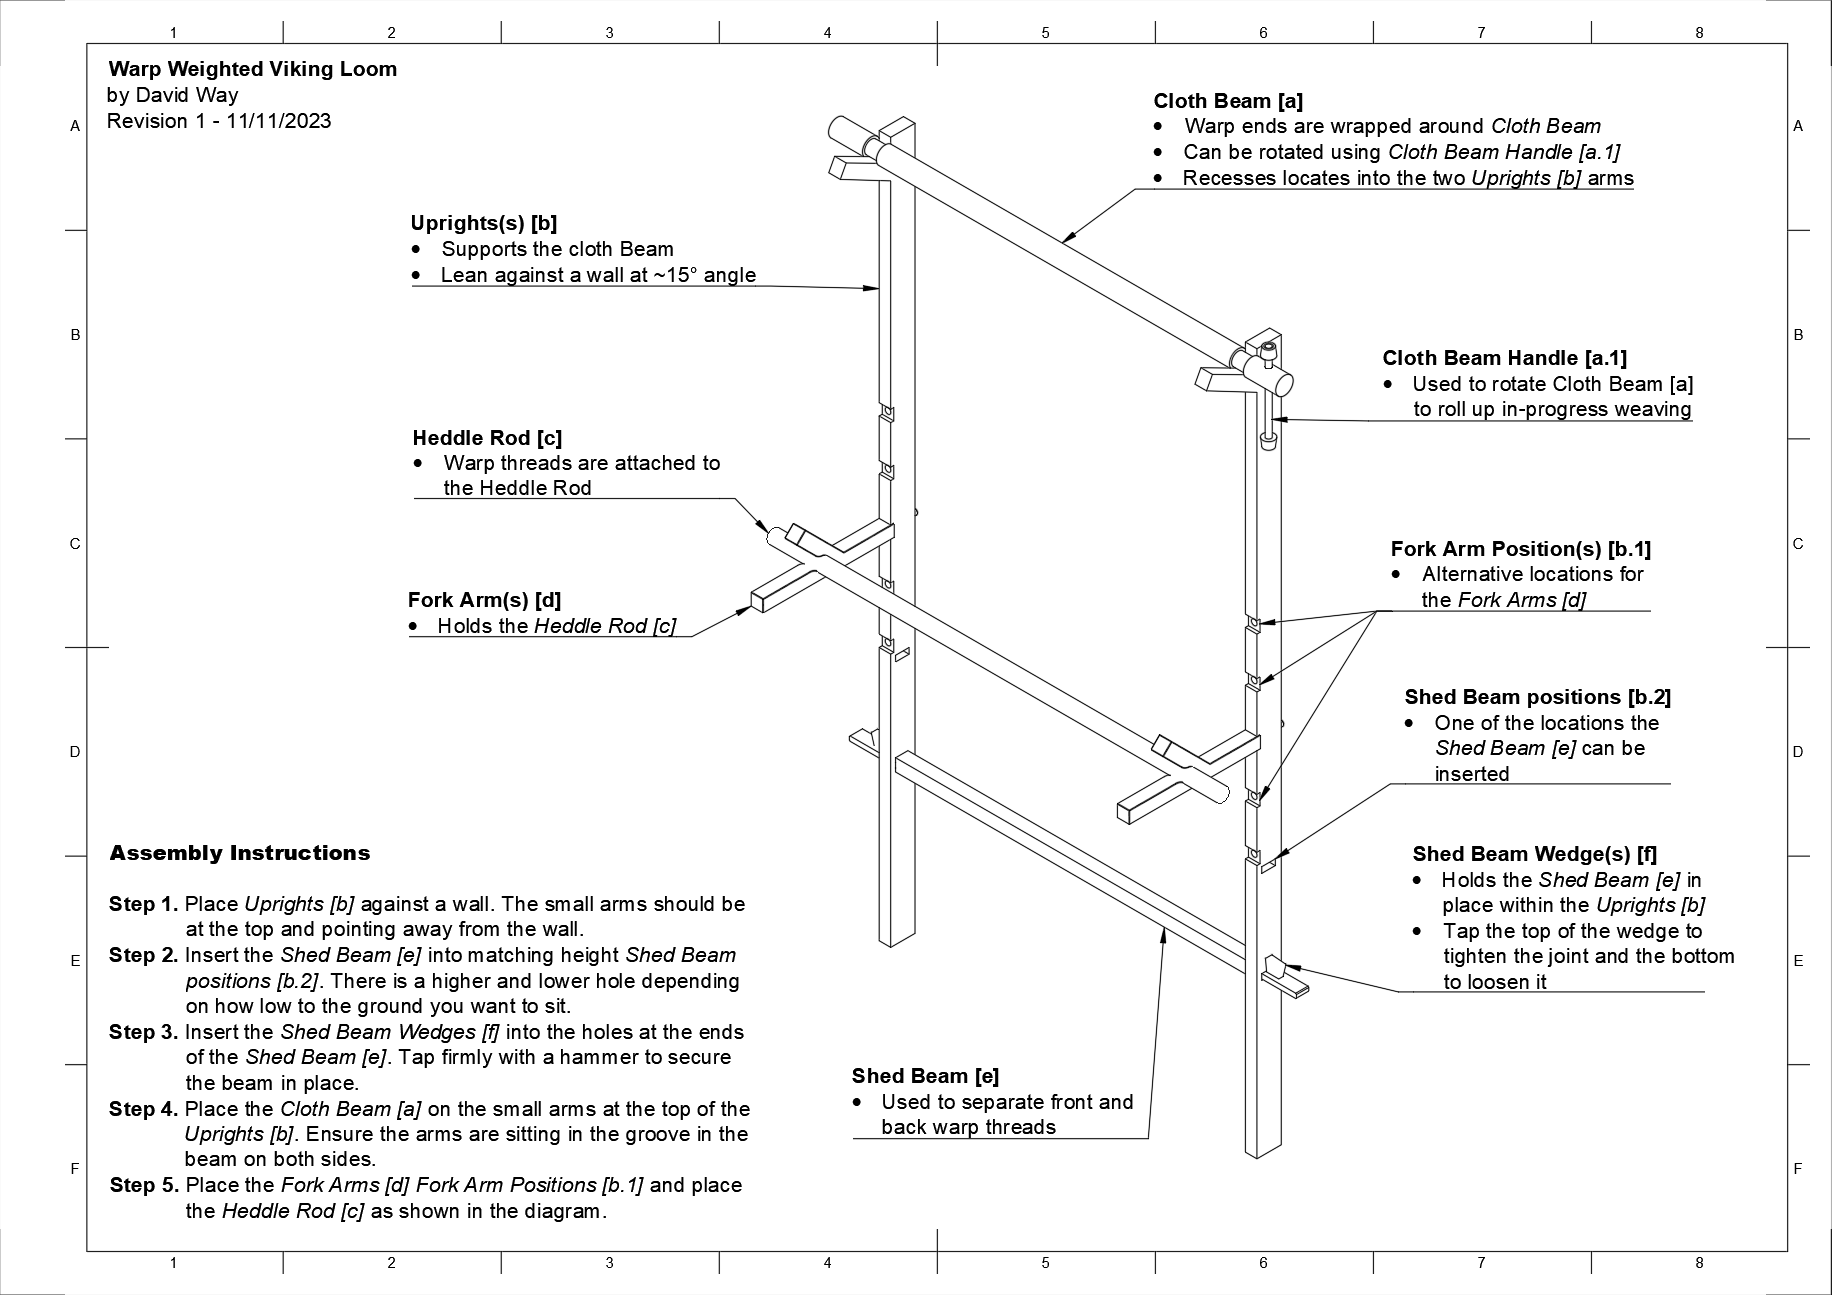
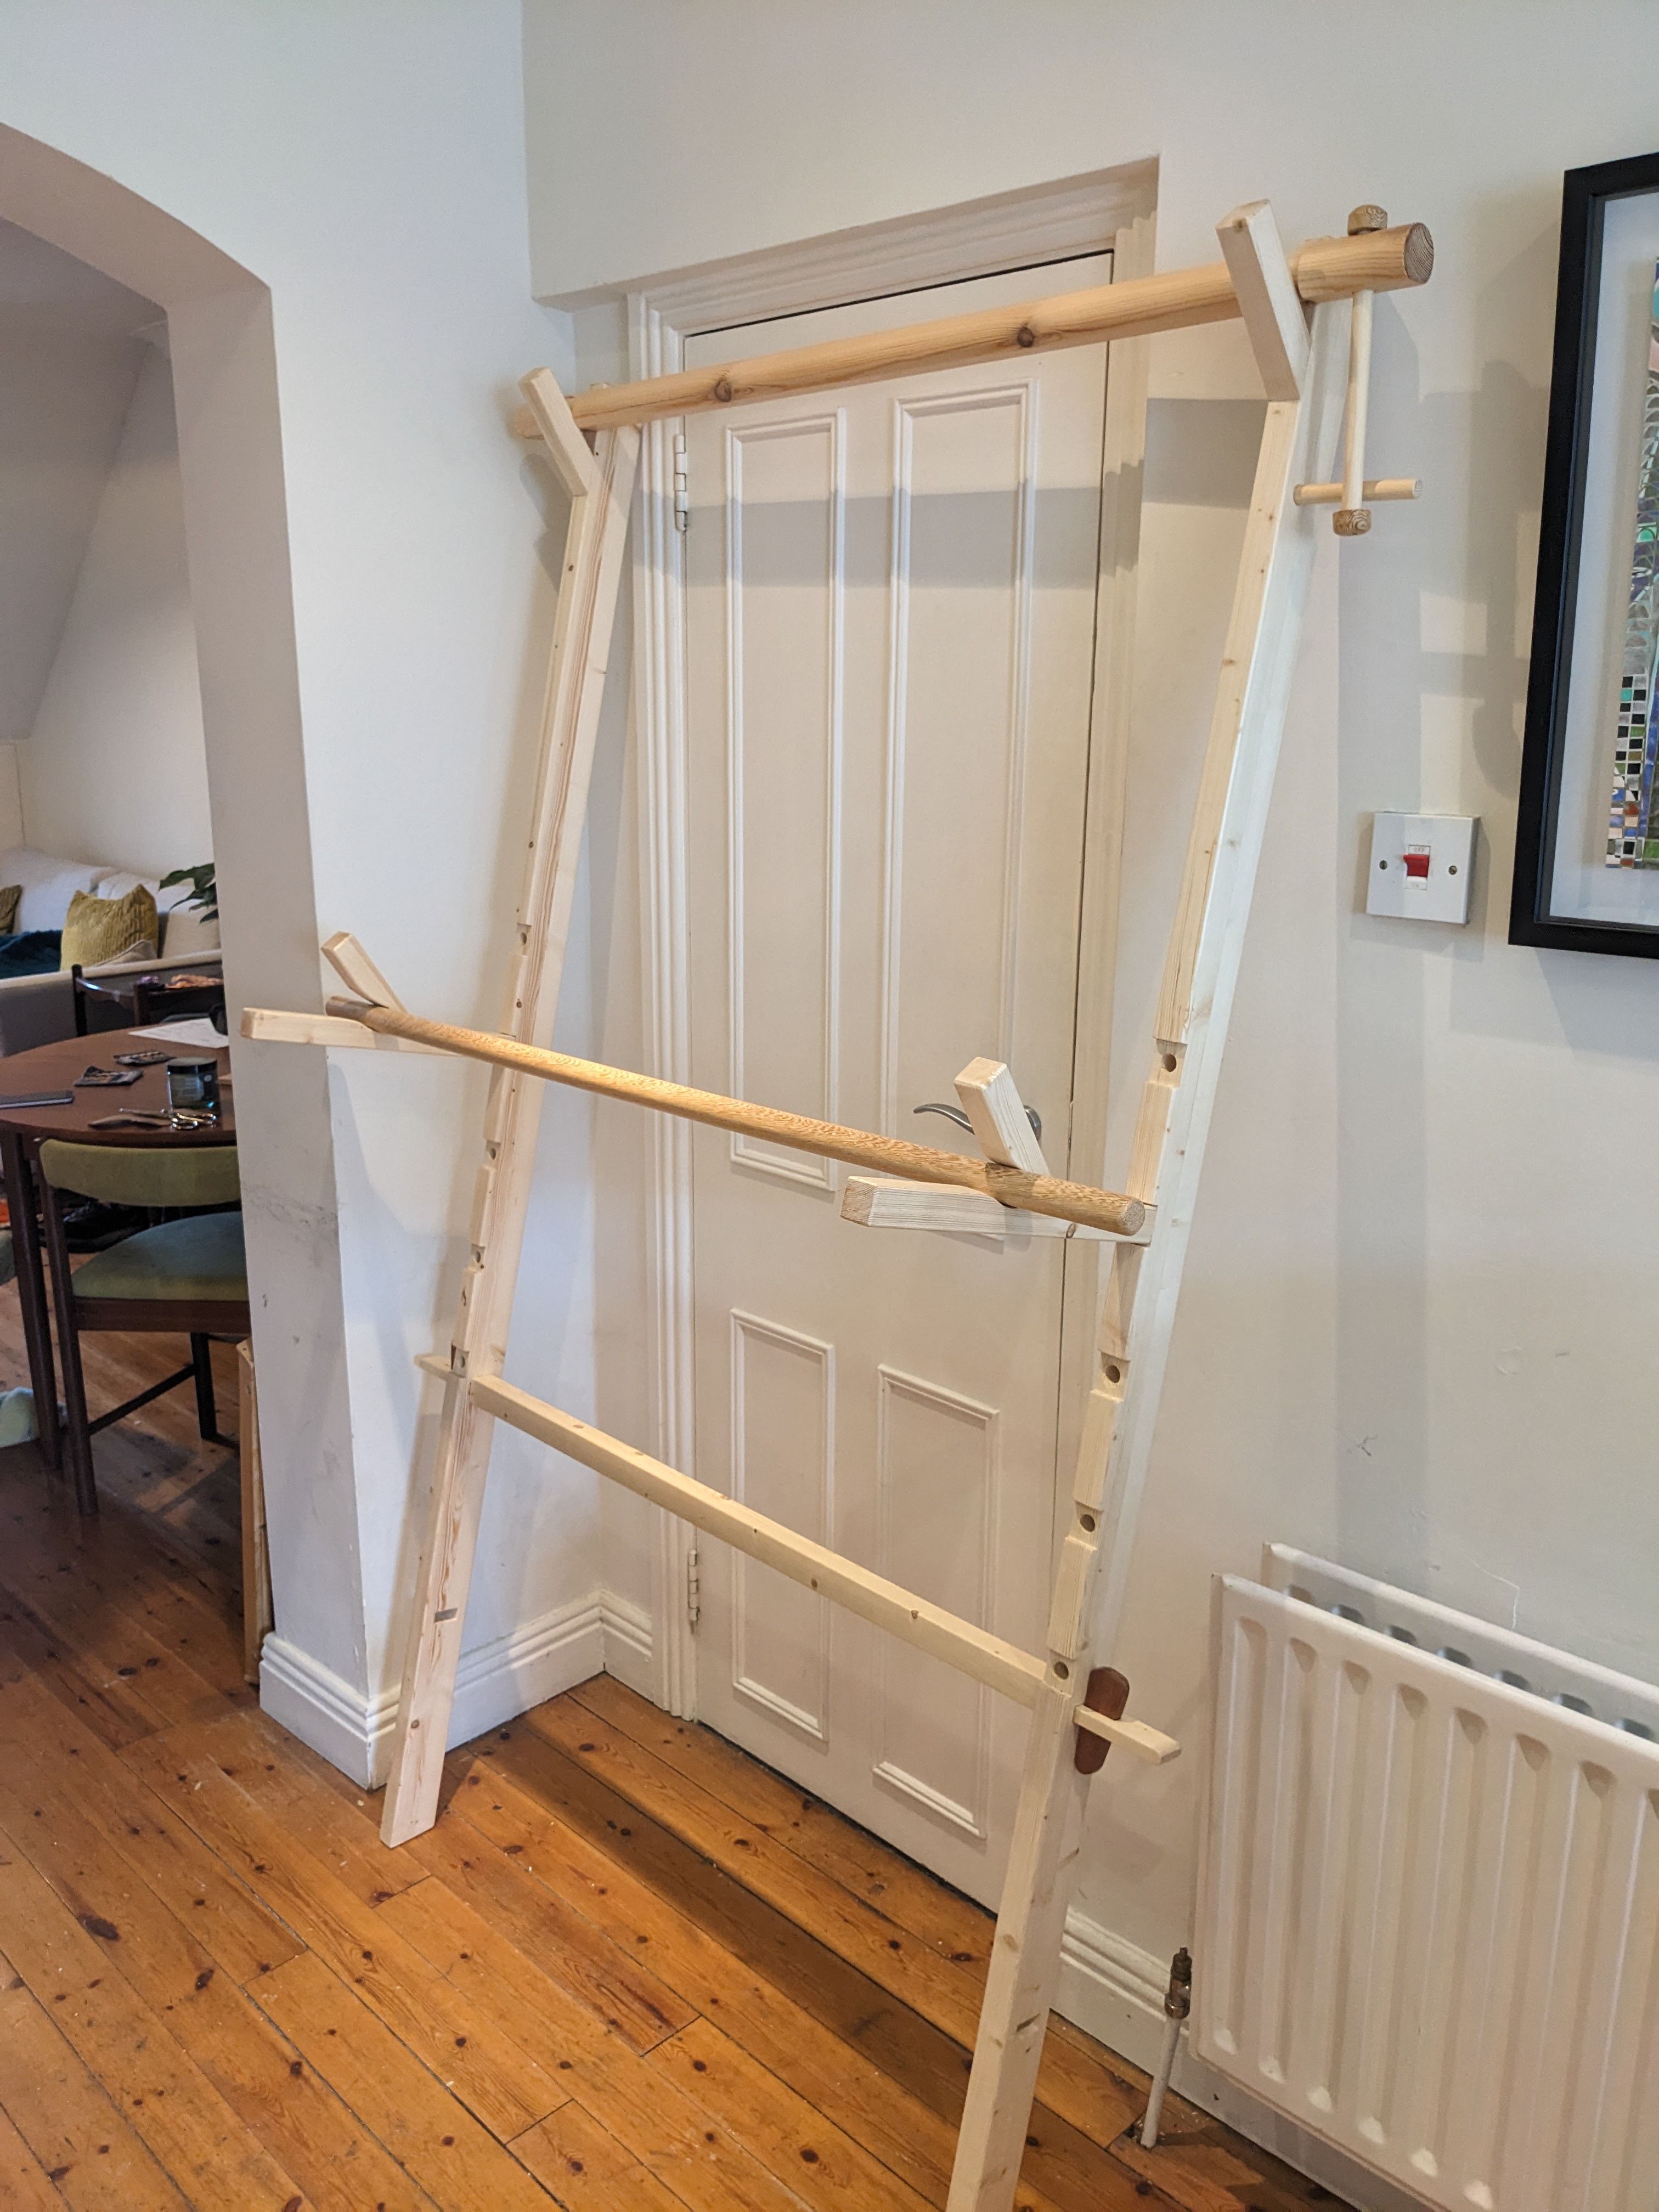
Precise tolerance knock-down joinery to give the loom strength and rigidity when in use and allow the loom to be disassembled for transport when not in use (Need A. and C.).
Rotating cloth beam and sliding latch for weaving materials longer than the length of the loom (Need B.).
Adjustable fork arms to allow you to stand, sit in a chair, or on the floor when weaving (Need B.).
Compact lean-to design minimizes the working footprint and allows the loom to be used in a confined space (Need C.).
Printed and digital assembly and usage instructions (Need C.).
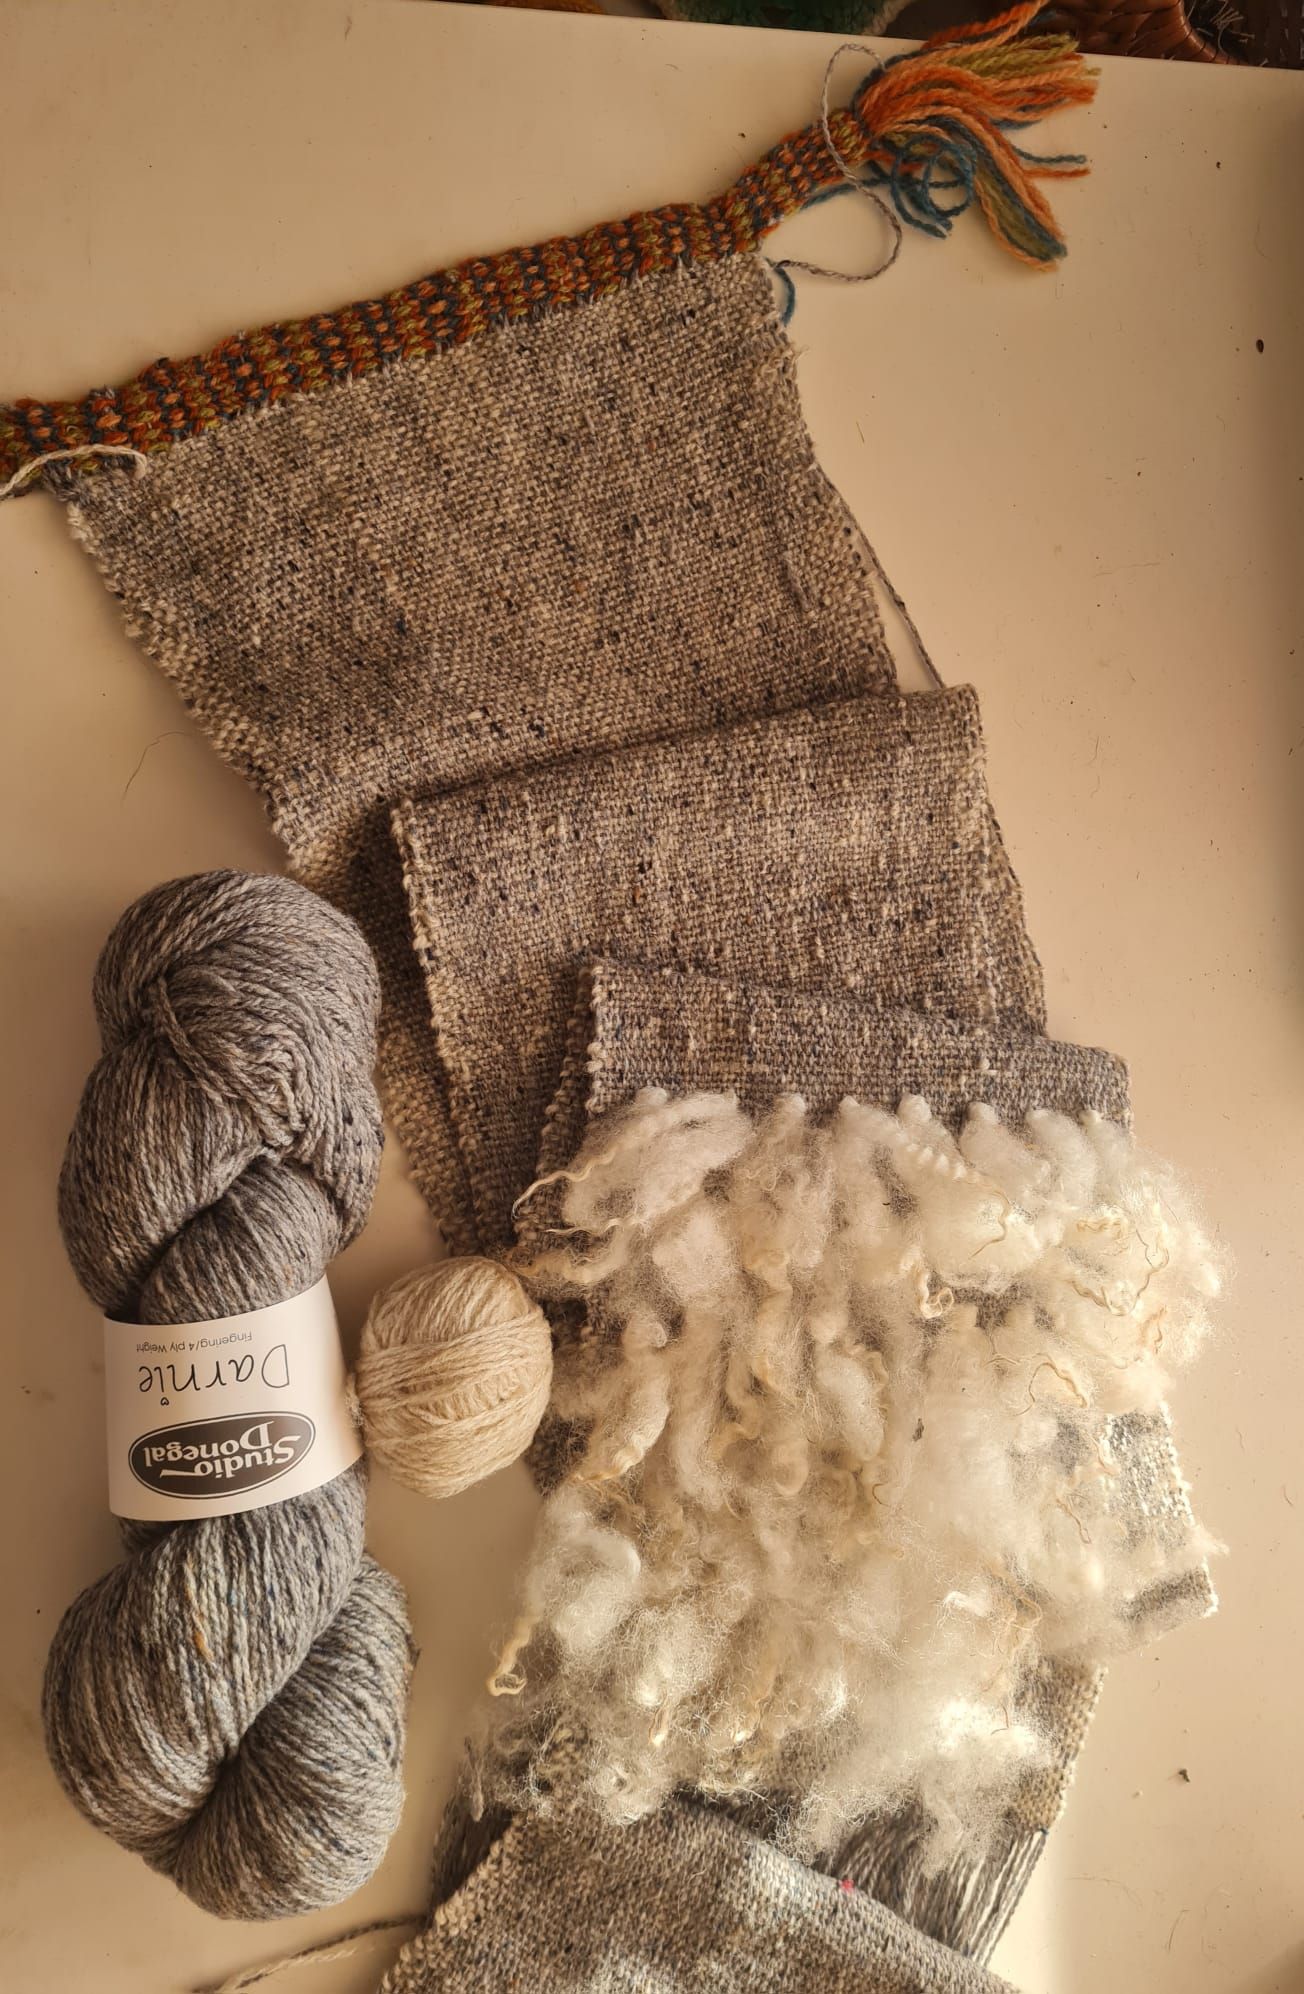
Natural beeswax finish to avoid tarnishing any weaving yarn it comes into contact with (Need A.).